Quickstart
Installation
Requirements
- x86_64 Linux
- KVM support on the host
- Git and Git LFS
- Docker, Docker Compose, and Buildx
That's it! Hocus is fully containerized and won't install anything directly on your host system. The following script will check if your system meets the requirements, prompt you to install any missing dependencies, and set up Hocus with docker-compose.
git clone https://github.com/hocus-dev/hocus.git
cd hocus
# HOCUS_HOSTNAME is the hostname of the machine where you are deploying Hocus
# If you are running Hocus locally, set it to "localhost"
# If you are running Hocus on a remote server, set it to the hostname of the server
HOCUS_HOSTNAME="localhost" ops/bin/local-up.sh
It will bring up:
- the Hocus control plane, a Remix application;
- Temporal, which is a workflow engine;
- the Hocus agent, which is a Temporal worker;
- Postgres;
- Keycloak, for authentication.
You can run ops/bin/local-down.sh to stop Hocus or ops/bin/local-cleanup.sh to remove it from your system completely.
Create Your First Project
When you first open the Hocus dashboard, you will be prompted to create a project.
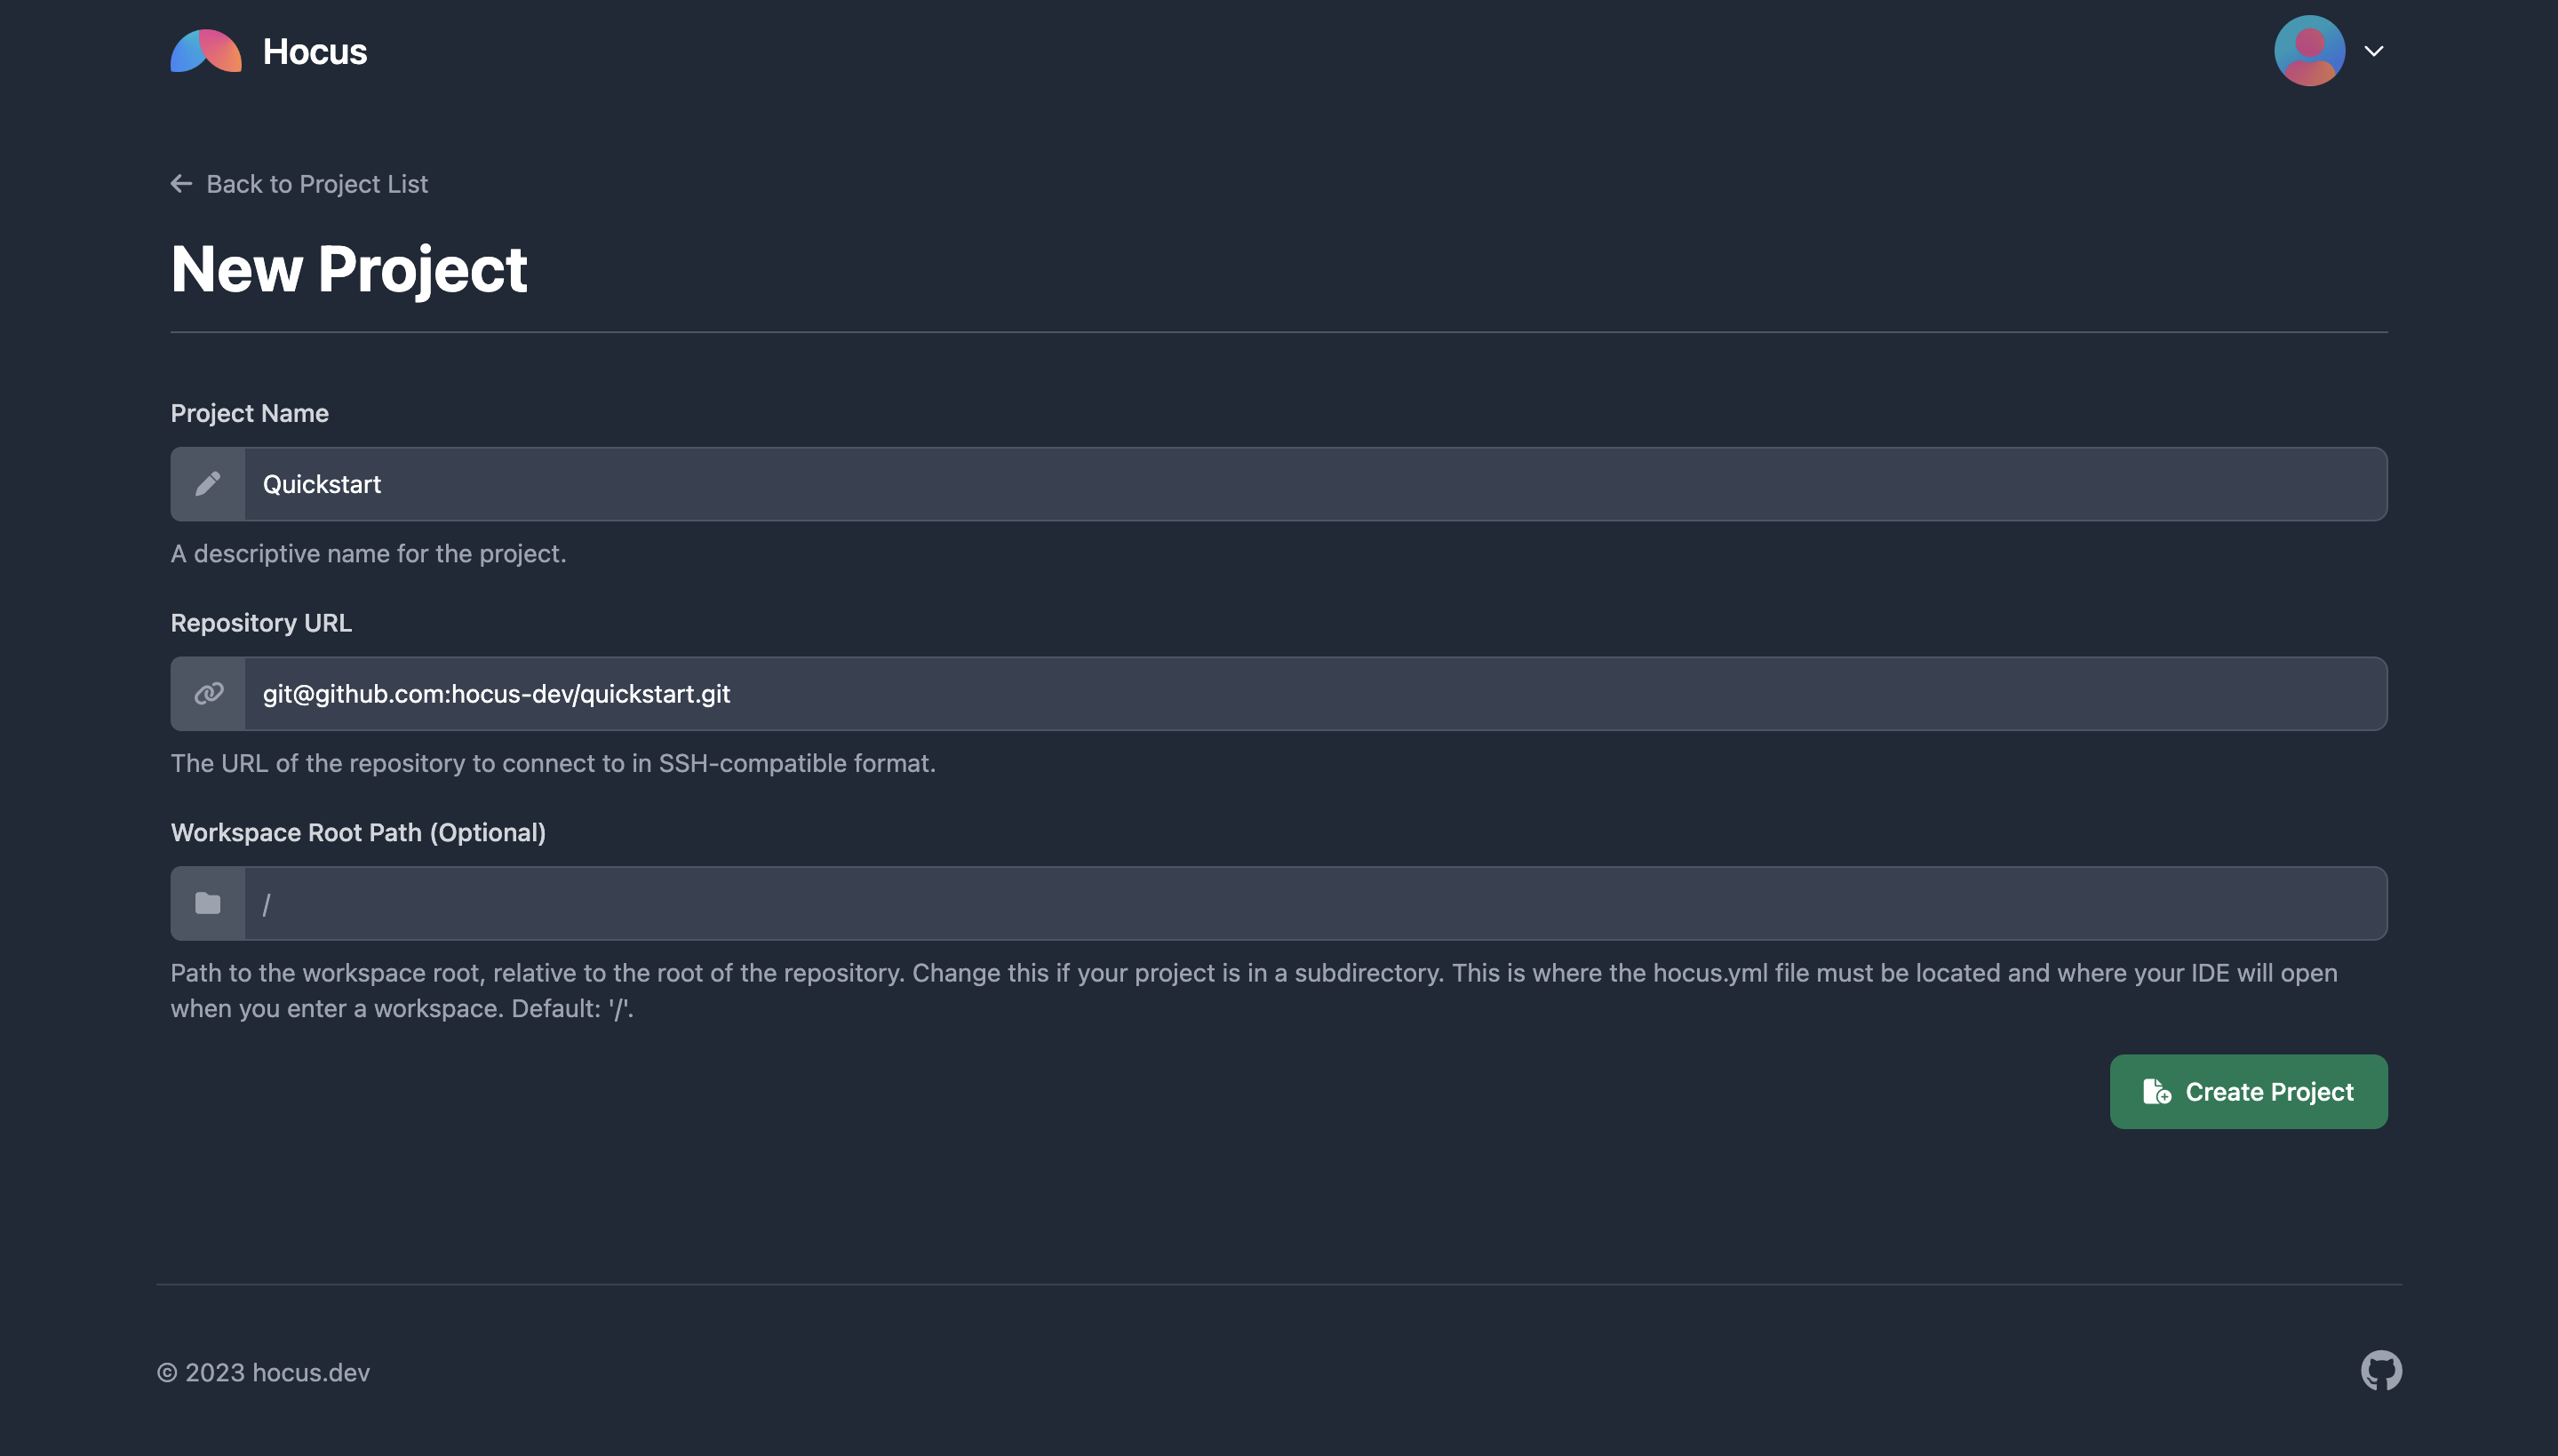
Projects are the top-level entities in Hocus. They are connected to Git repositories and contain workspaces and prebuilds. Create your first project by clicking the New Project button. For this quickstart, use these values:
- Name:
Quickstart - Repository URL:
[email protected]:hocus-dev/quickstart.git - Workspace Root Path: Leave blank.
Connect to the Git Repository
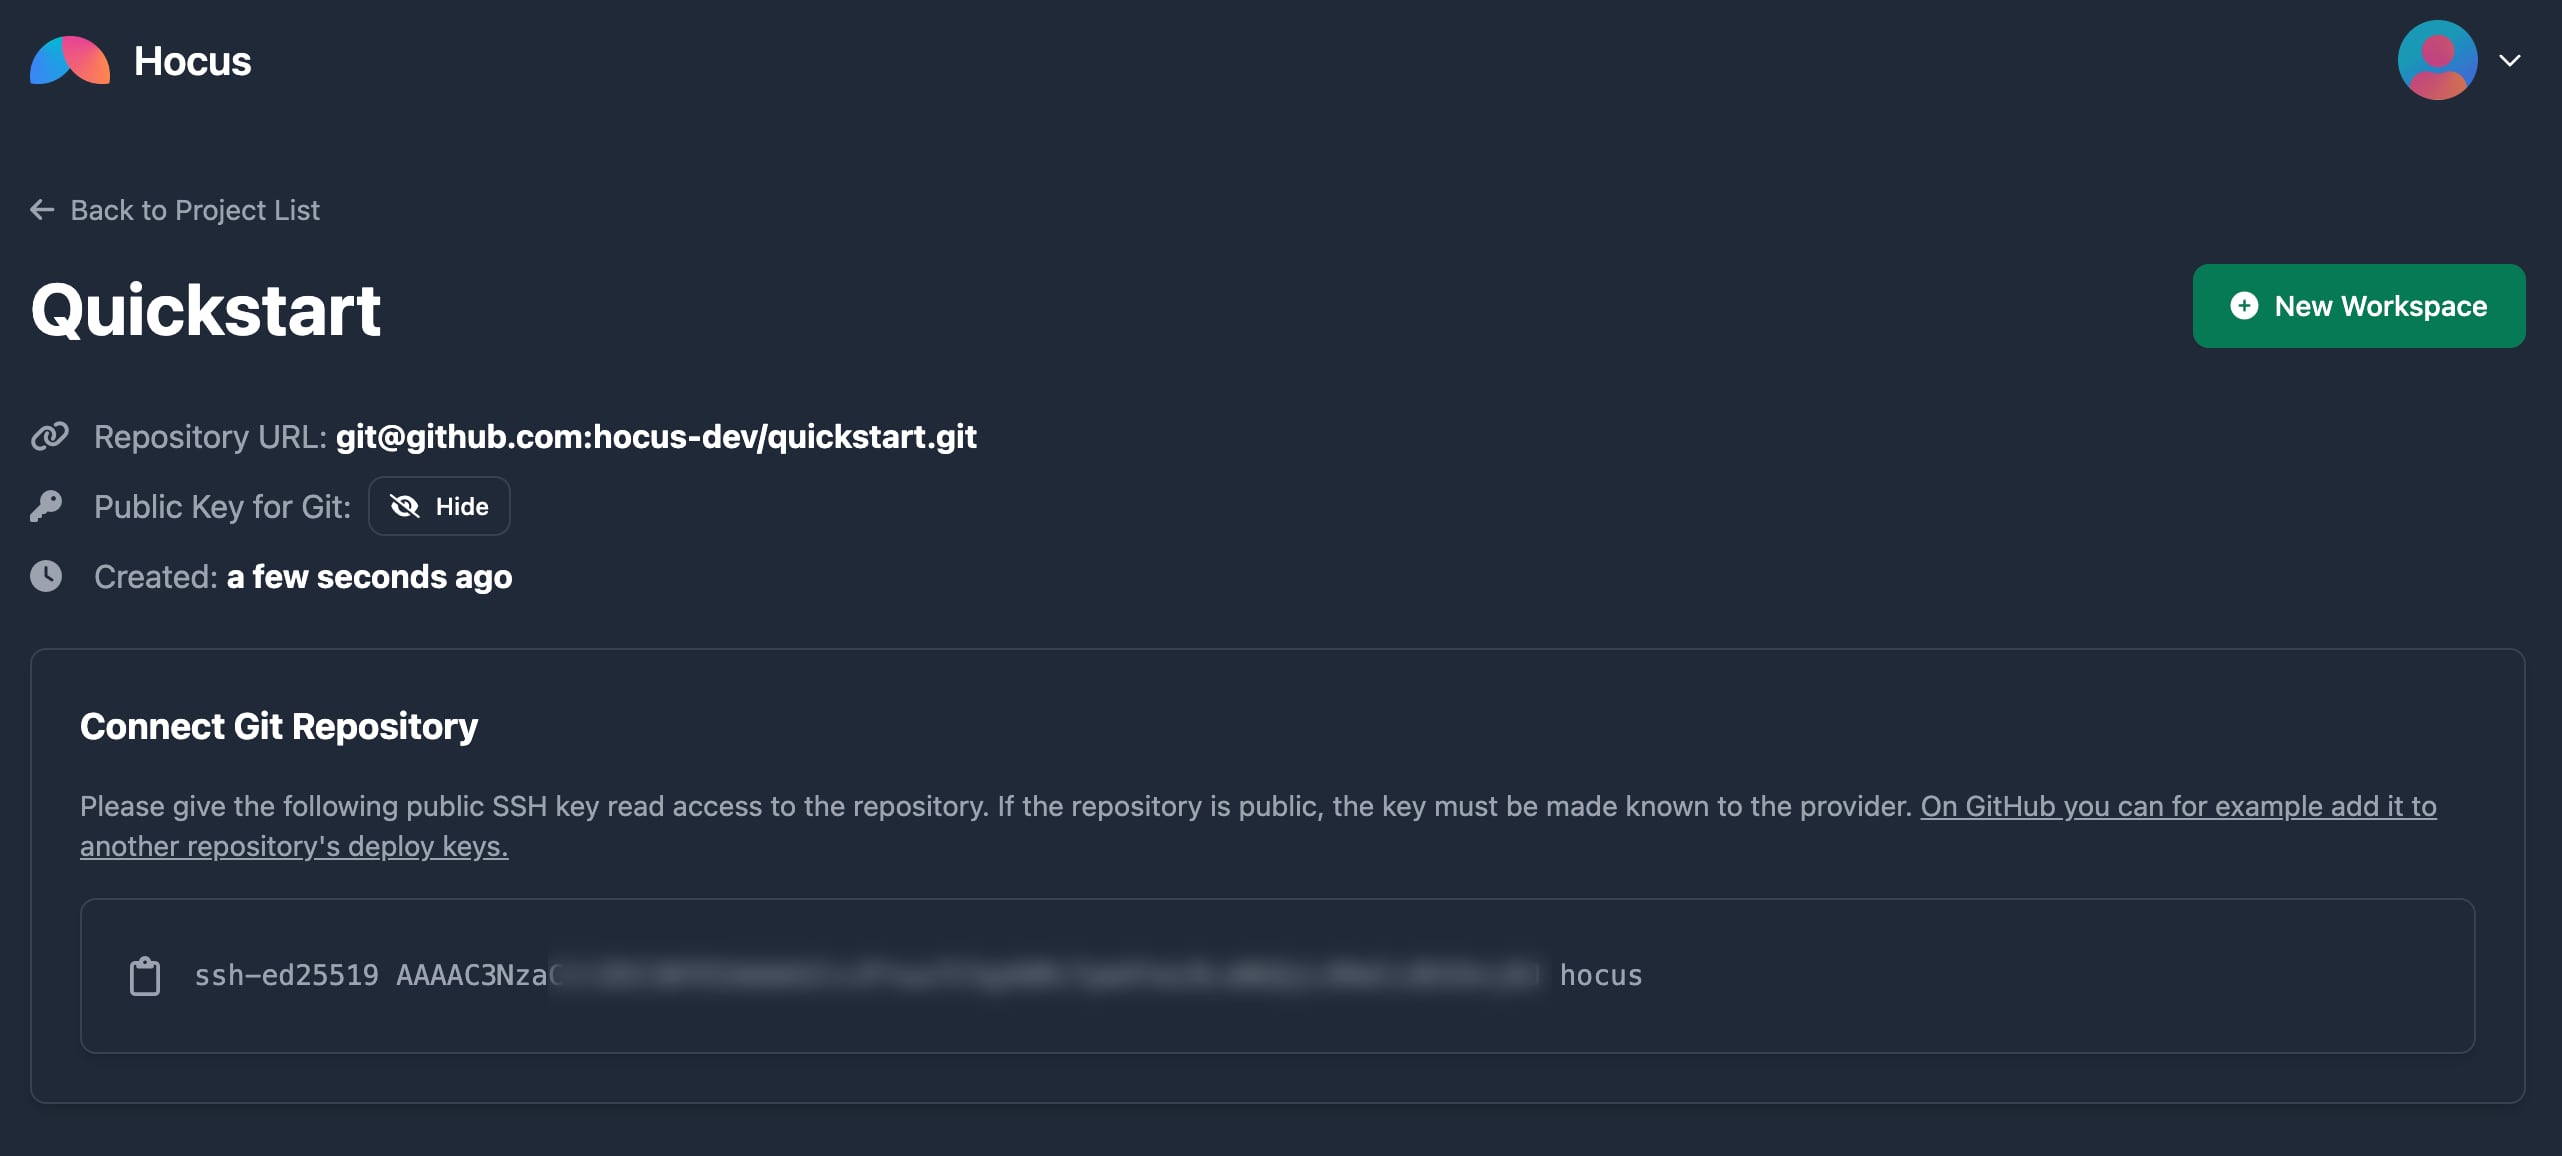
After creating the project, you will be redirected to the project page. Hocus can't yet access the Git repository. Even though the repository is public, GitHub won't allow Hocus to clone it over SSH until you add the project's SSH key on GitHub's website. You can add it to another repository's deploy keys or to your own account.
After you connect the repository, refresh the page and look at the Prebuilds tab. If everything went well, you should see a prebuild in progress.

If you're having trouble and you aren't sure why, you can check the dev logs with:
ops/bin/local-cmd.sh logs
Add your SSH Key
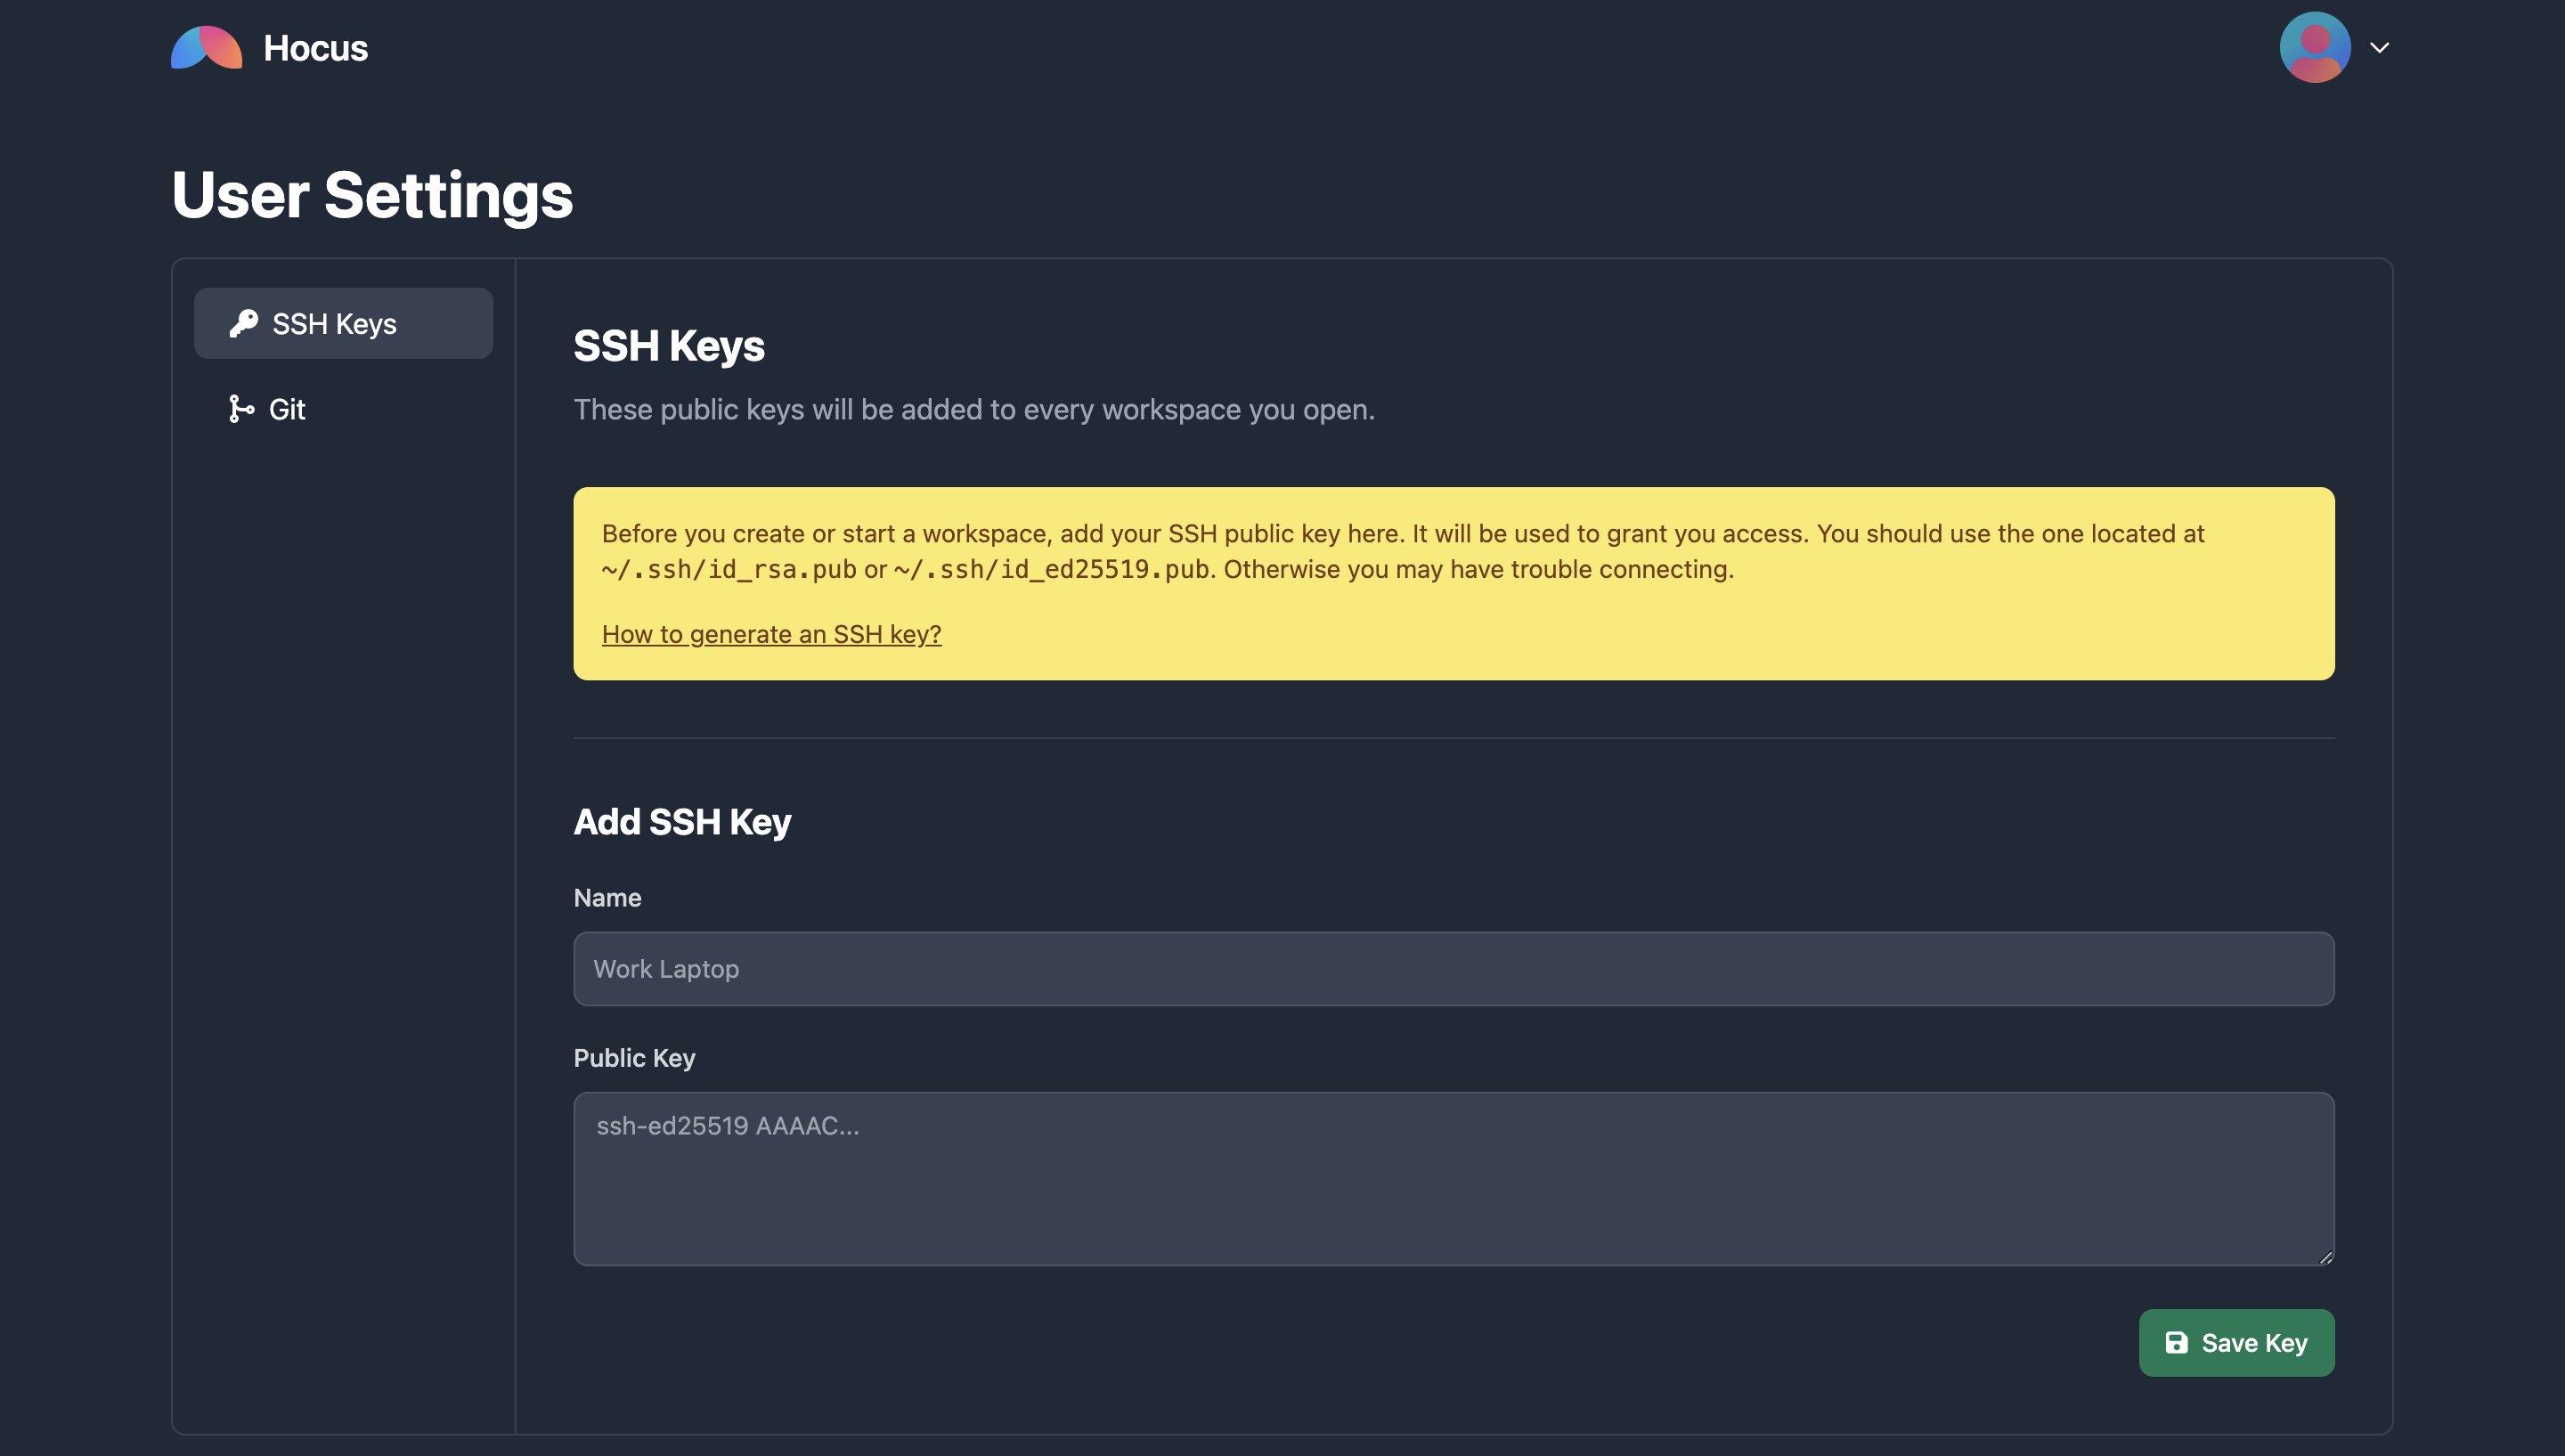
After the prebuild is complete, try creating a workspace. Click the New Workspace button. You will be redirected to the SSH Keys Settings page. Add your public key.
Create a Workspace
Now try creating a workspace again - this time it should work. Once the workspace is ready, Hocus will automatically instruct your local VSCode instance to connect to it.
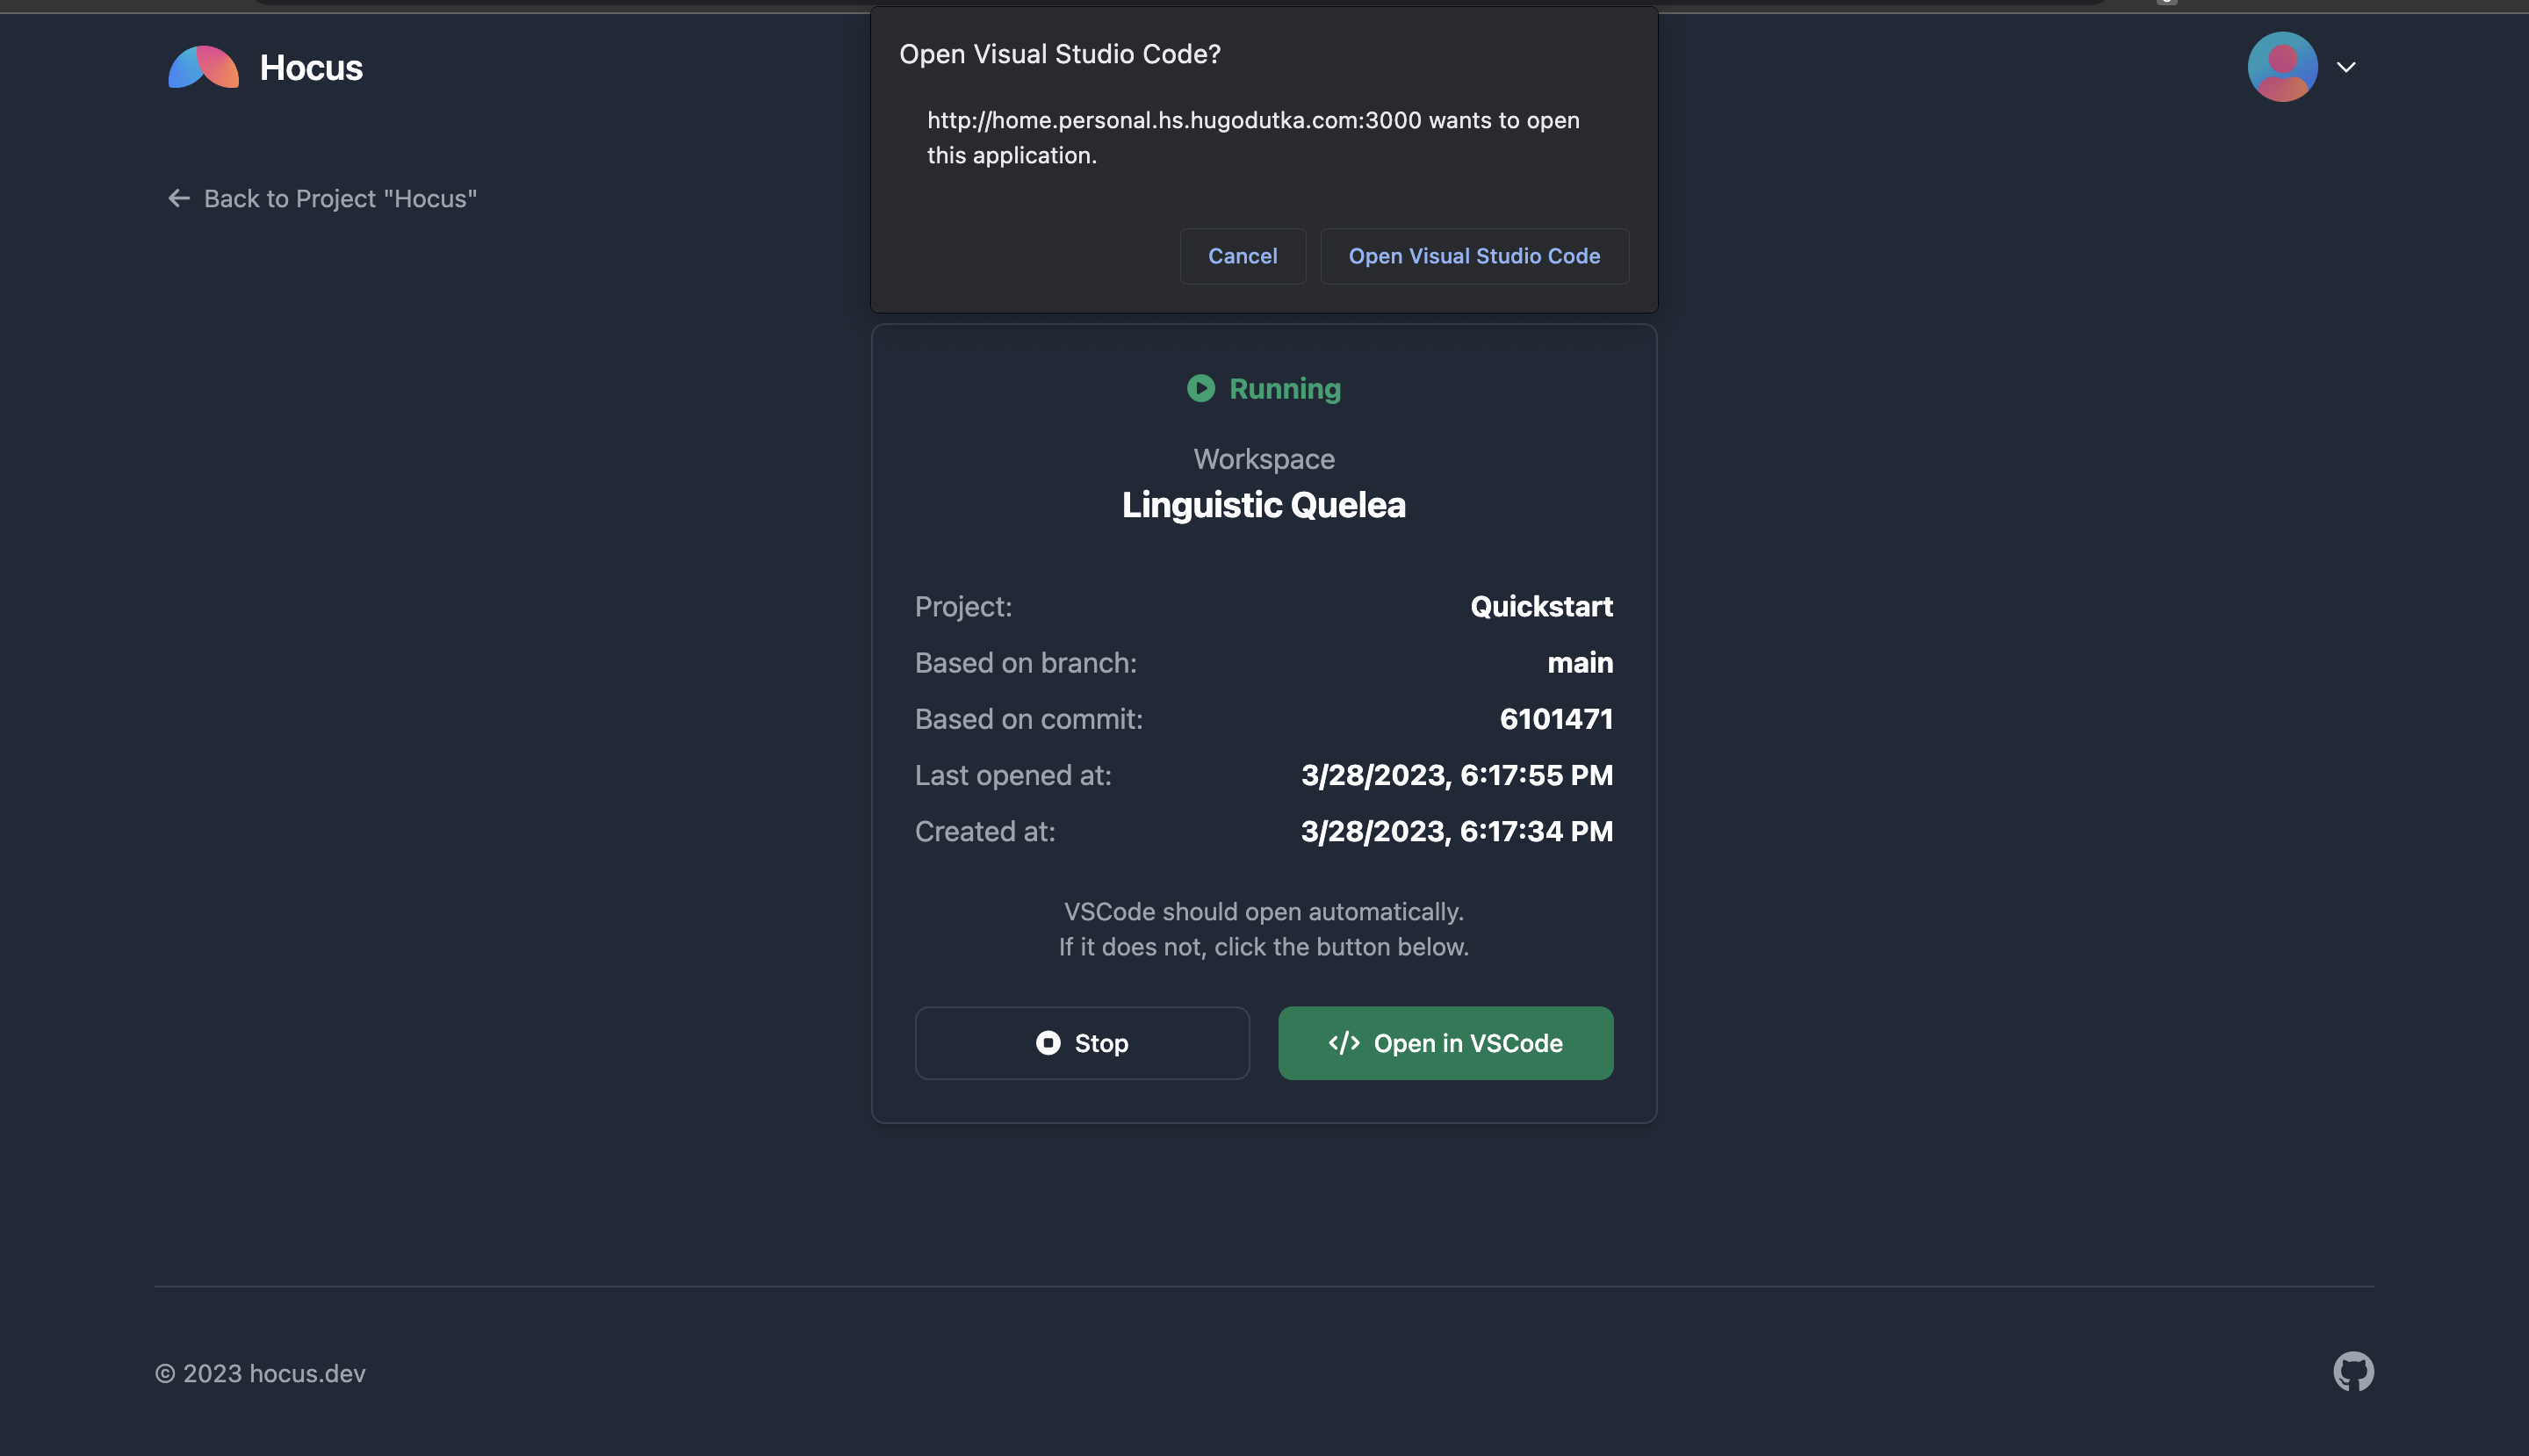
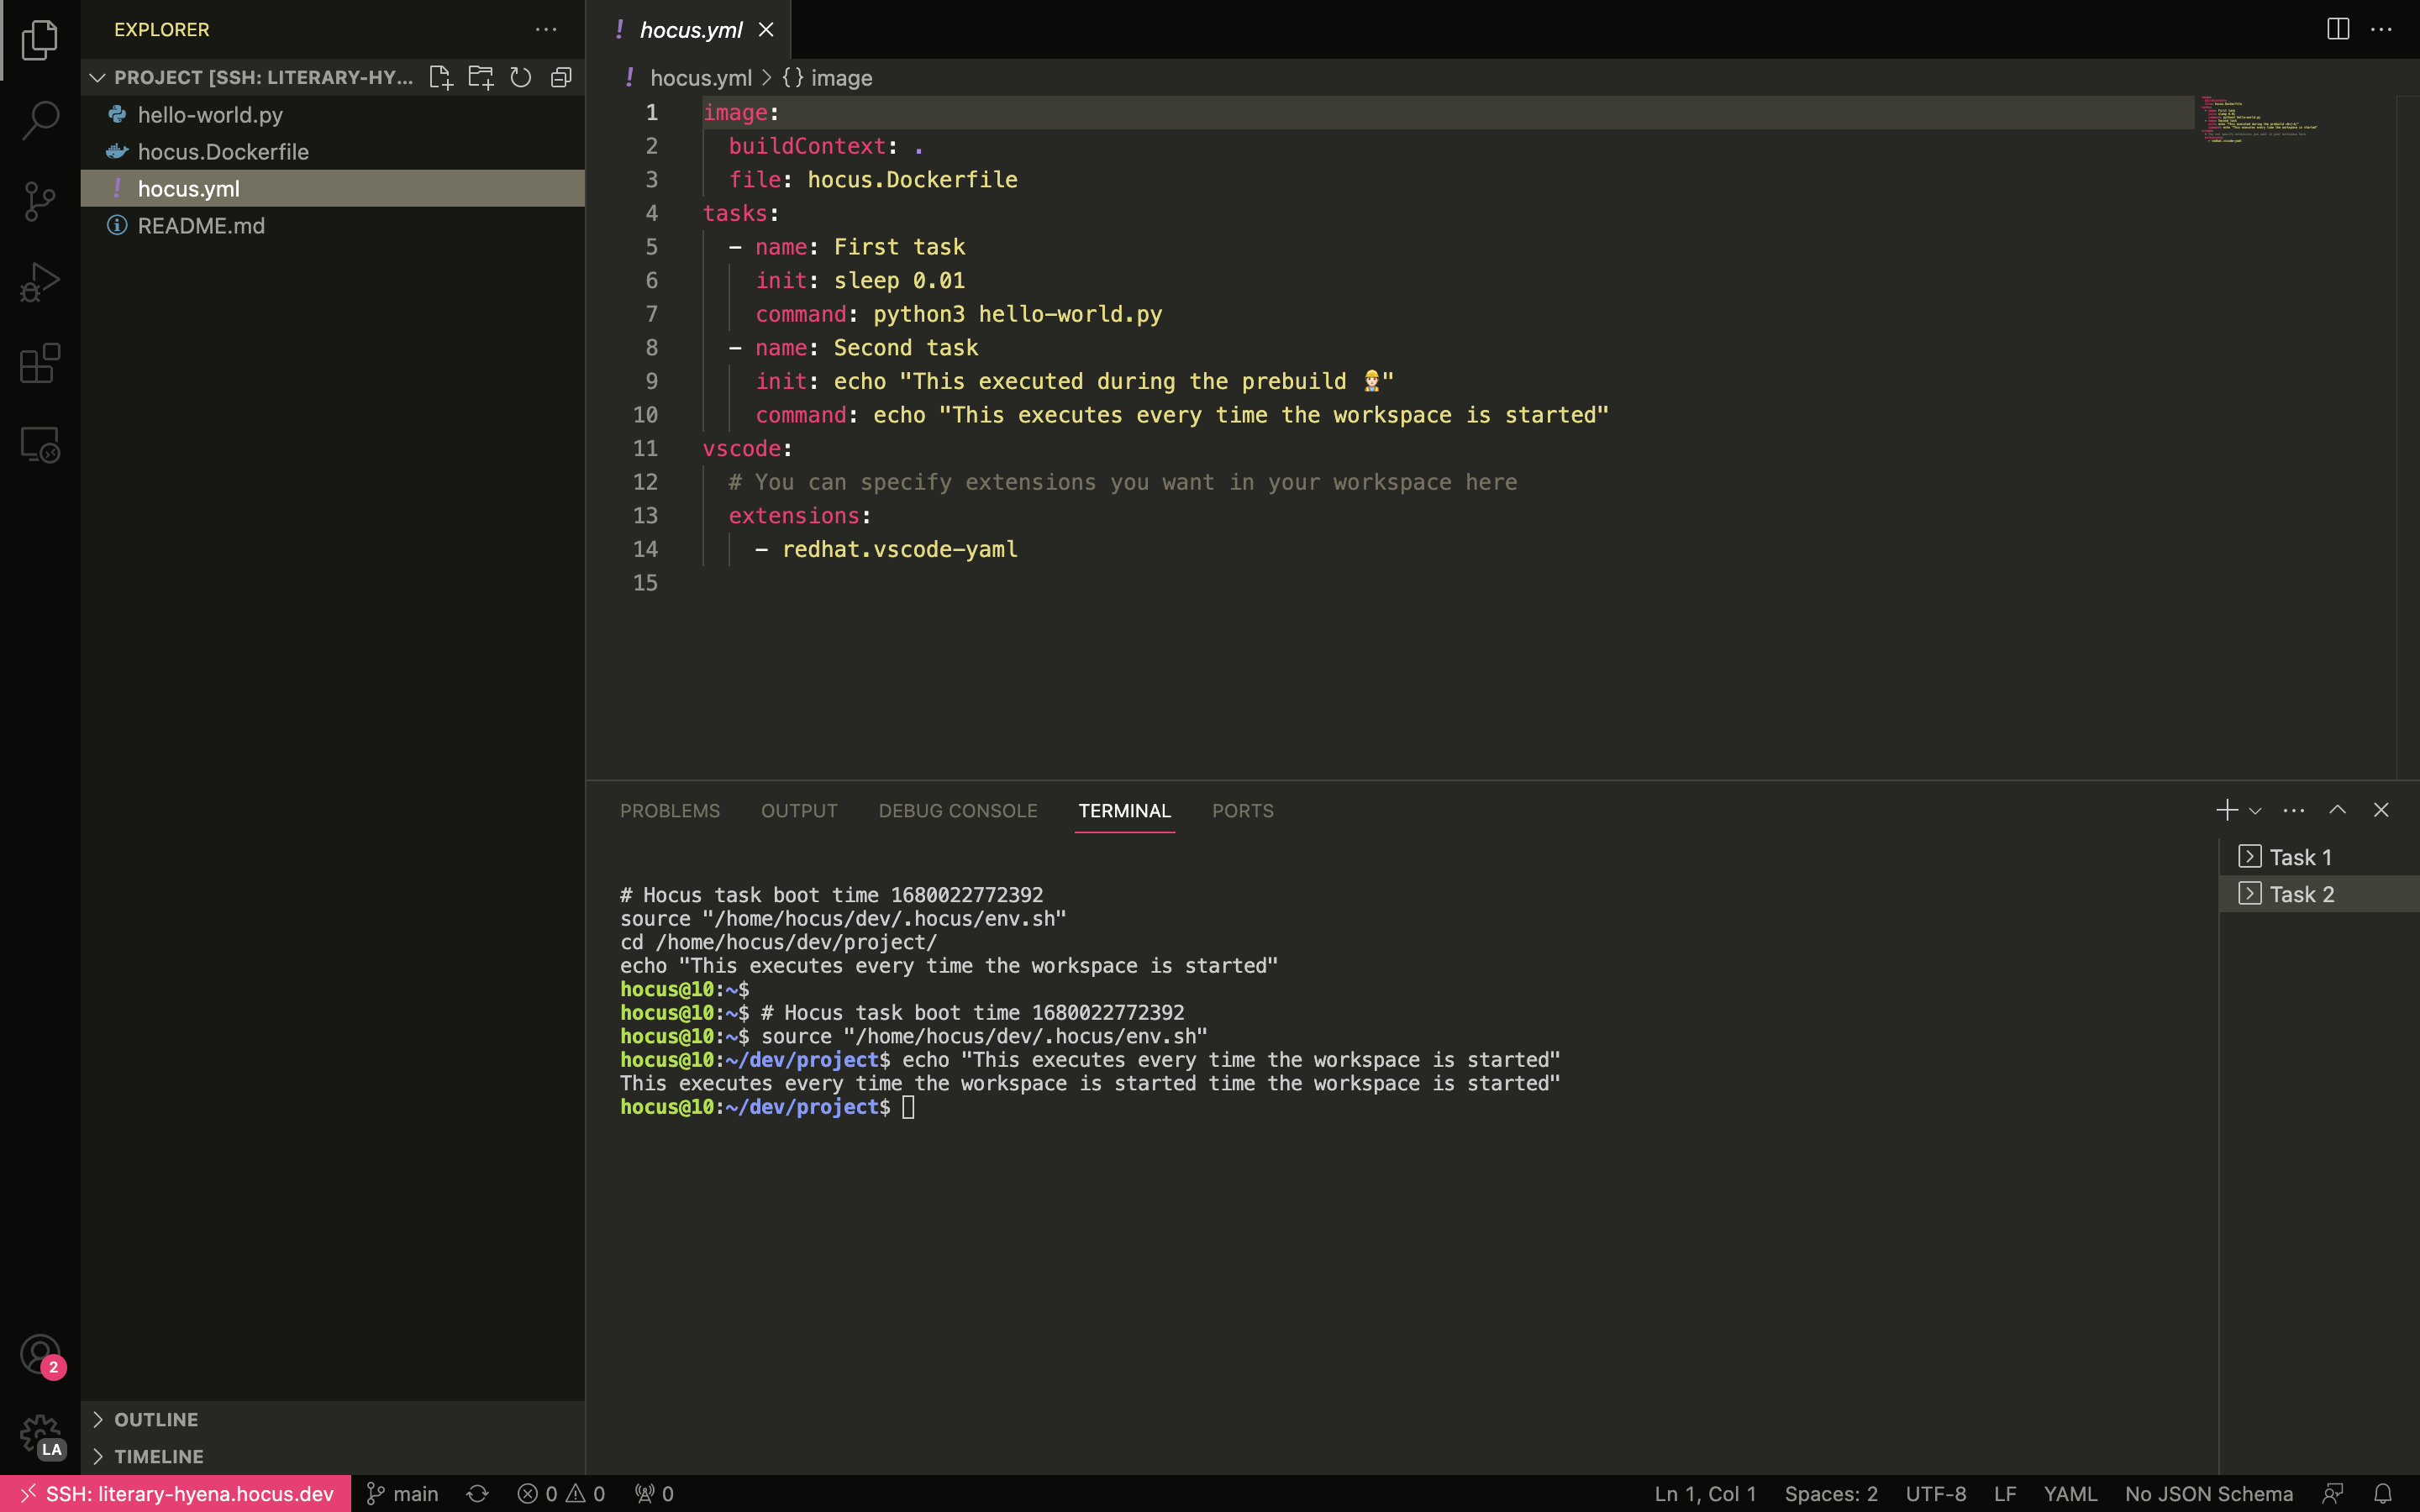
Have a look around the workspace. Check out the hocus.yml file - it's how you configure your dev environment.
When you opened the workspace, VSCode should have automatically opened 2 terminals for you. If it didn't, the Hocus extension probably failed to install. You can install it manually - its ID is hocus.hocus-remote.
That's it for the quickstart! Add your own projects and start using Hocus.